Devikins Beginners Guide
A little push for the beginning of your journey. The start of a game so full of options can be a bit challenging, so we’ve prepared a guide to help you take your first steps into the Void. We’ll create a more comprehensive/complex guide, but for your beginning, we suggest starting here.

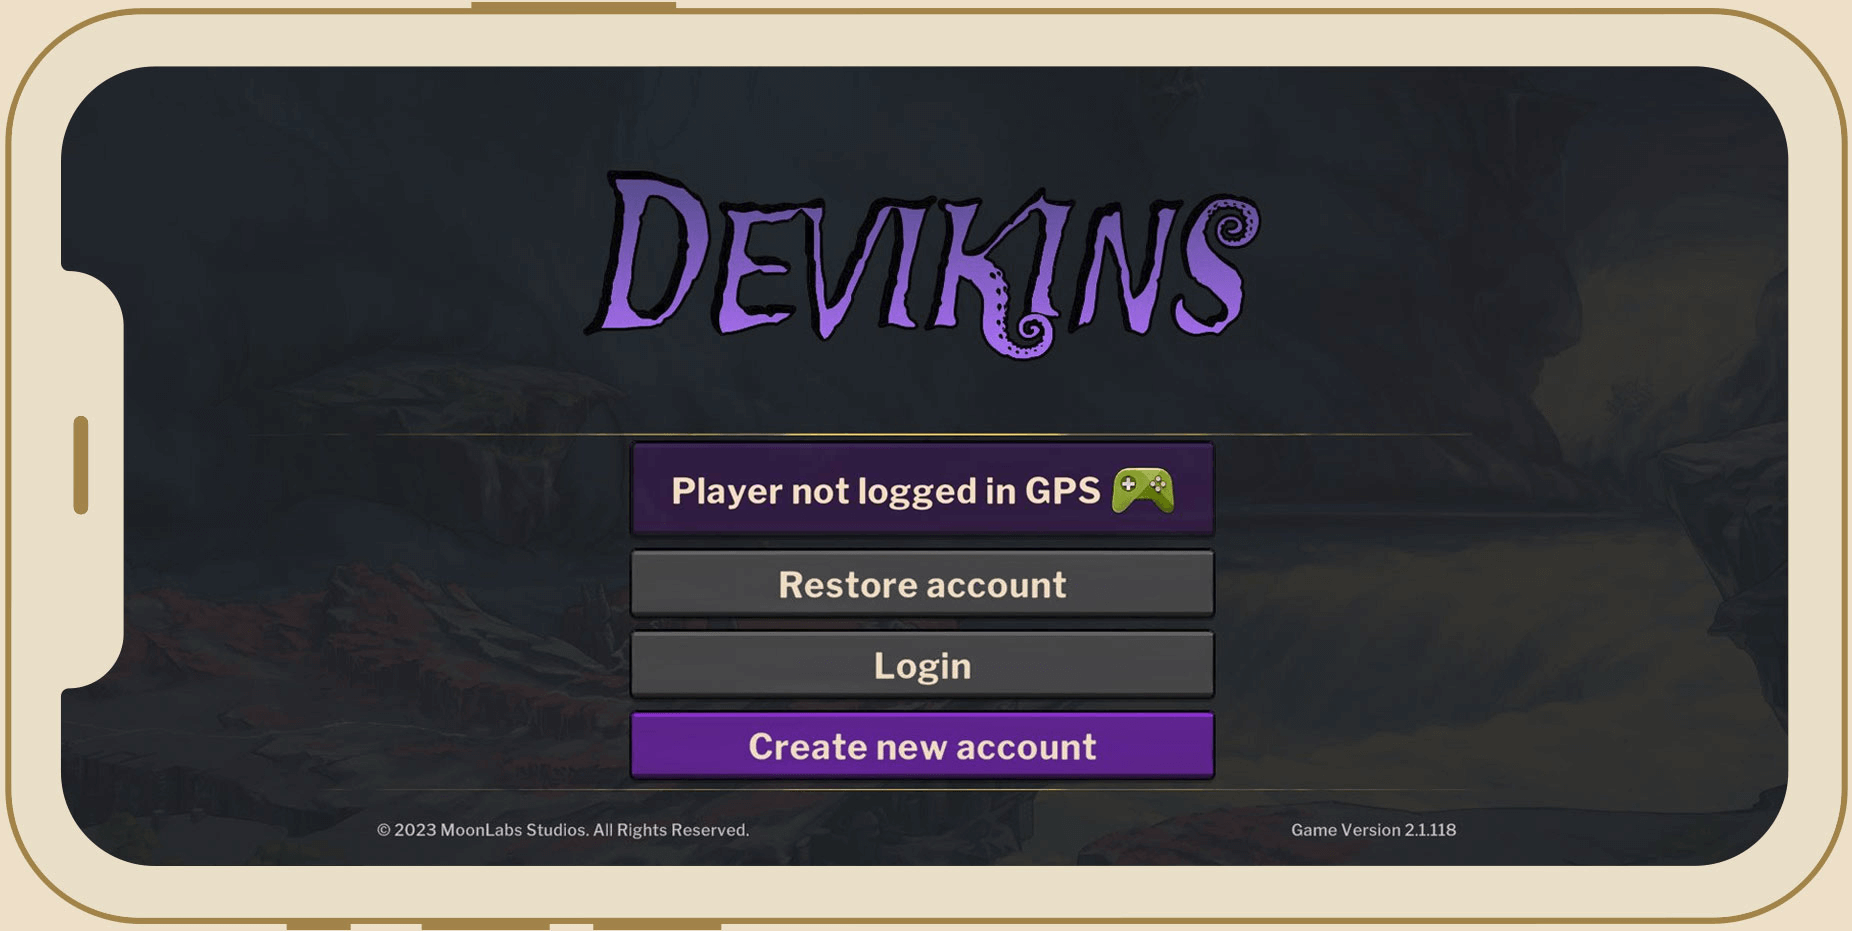
- Start by creating a new account and filling out the registration form.
- Confirm your email.
- Add a PIN; this PIN will be your quick unlock password for the game.
- Confirm to proceed to the next step.
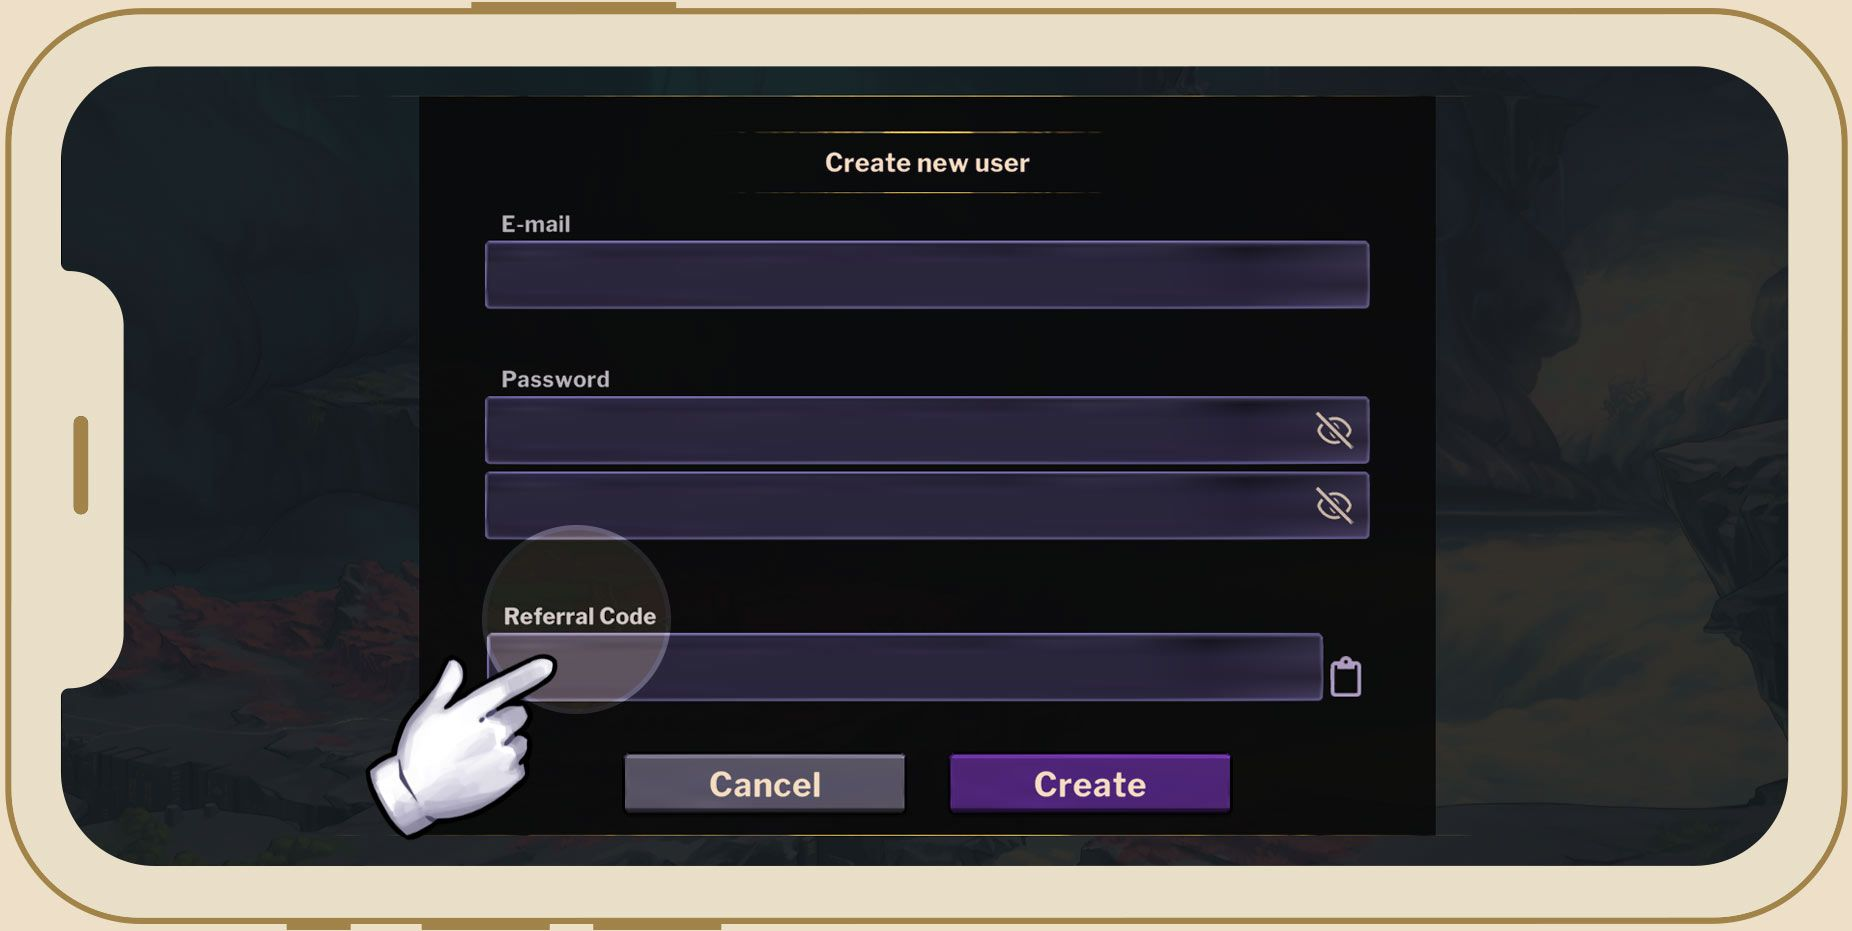
If you have a referral code, use it during the signup process. To do so, simply enter the code in the designated area.

Sharing your referral code
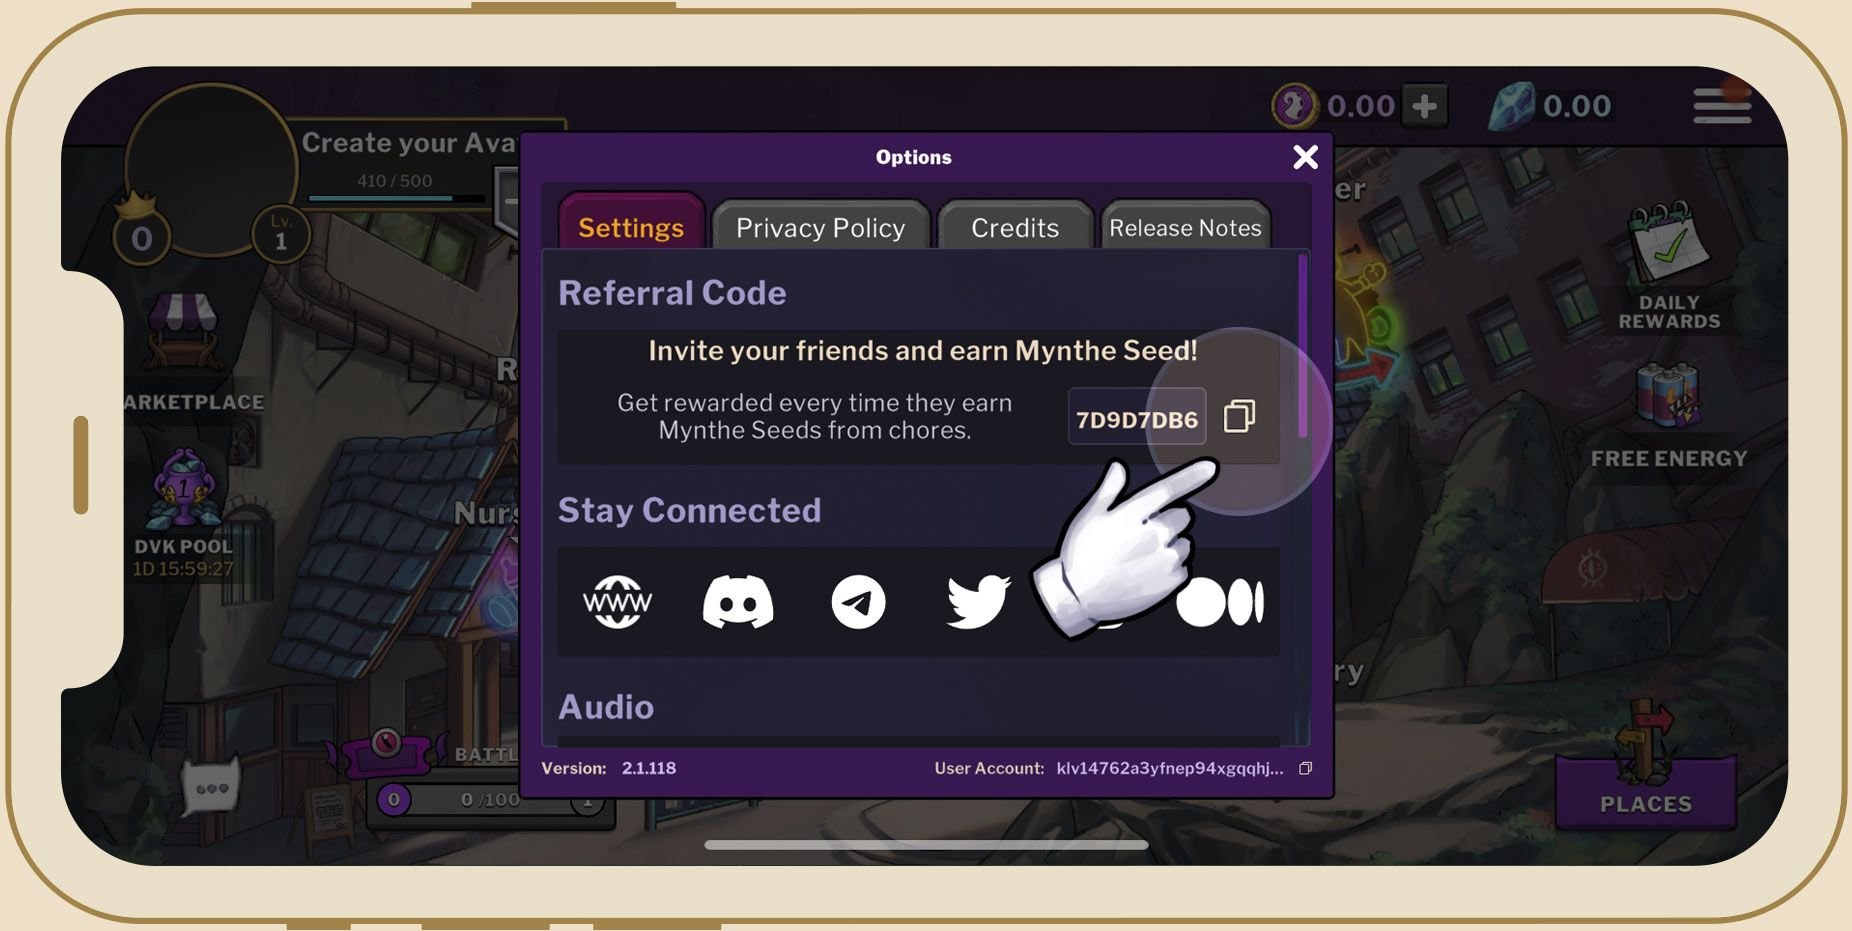
You can also share your referral code, which will give you some advantage each time a new person uses it and advances to the next level in the game. To do this, simply access the Main Menu and select Settings. There you will easily find your referral code.

You can skip it, but we recommend that you do the simulation to receive your first rewards and understand a little about the dynamics of a battle.
Follow the steps displayed on the screen, choose the moves of each Devikin at the right moment to defeat your enemy.
Here’s a brief overview of the main features of the game. Gradually, you’ll become more comfortable exploring the game’s full potential on your own. This is just a small summary of what you’ll encounter.
Roster: This is where you’ll manage your Devikins. You’ll be able to level up a Devikin, hatch an embryo, breed, import or export a Devikin NFT, and assemble/manage a team.
Nursery: In the nursery, you’ll be able to train your Devikids so they grow with more skills and become stronger and faster in combat.
Inventory: In the inventory, you’ll manage all items collected during the game, such as weapons, specific skills, skins, training items, and much more.
Combat: It’s in combat where you can choose your battle styles. You can play in story mode, unlocking new stages and facing stage bosses. Or you can assemble your team to play against other players in PvP and asynchronous PvP modes.
As you progress in the game, you’ll feel more comfortable exploring all the features. In the Devikins Guide, you’ll find deeper explanations about each item, including those not covered in the Beginner’s Guide.
Here you will manage your Devikins. You will start the game with some Devikins and an Embryo, all Replicas.
What is a replica? In the case of a Devikin, a Devikin replica is a Devikin that is not an NFT, so it has some restrictions. It cannot breed or participate in rituals, but it can still level up by adding XP and participate in battles, tasks, and adventures.
Clicking on the icon with the group of people will take you to the Team Management
Team Magagement
On this screen, you will manage the teams you’ve formed for battles. Clicking on each [+] icon allows you to add a Devikin to your team, and upon loading your Devikin, you can click on it to add weapons, equipment, and specific skills.
Hatch an Embryo
When you perform a ritual or procreation, you’ll receive an Embryo, which is a Devikin that hasn’t hatched yet. To hatch an Embryo and start its development, you need to select it from your list of Devikins, click on the side Menu, and then click on Hatch. After doing this, your Devikin will start its development and will be listed in the Nursery for you to perform its initial training.
If you hatched an Embryo, it will now appear in your nursery. On the left side, you can see the status of each item of your Devikid. In the center, you’ll see your Devikin’s mood; pay attention, as this mood will help determine which activities the Devikin can engage in. Click on Items to see the options of items you have in your inventory; each item has specific gains and losses, and you should use them to train your Devikin. The maximum for each item is 100; strive to achieve the highest score possible in Vitality, strength, agility… The points accumulated in training will make your Devikin evolve much more with each level it gains after becoming an adult.
In the Combat area, you will find two fixed options (Story Mode and PVP Async) and PVP real-time, which occurs only during specific periods and sporadic events. Therefore, in the beginner’s guide, we will initially focus on Story mode and PVP Async.
Both modes consume energy. The energy for Story Mode is the Battery, which you can see at the top of your screen. PvP mode consumes the energy indicated by the icon of a sword in a gear, located nearby.
Story Mode
The Story Mode consists of stages and sub-stages where you’ll face various enemies and stage bosses to progress. If you’ve already assembled your team, you can confirm it or manage it before starting a battle. When starting the stage, it’s your turn to strike; simply select one of the attack options your Devikin has and choose the enemy you want to strike.
PVP Async Mode
In this mode, you’ll face teams formed by other players and battle them asynchronously, with the other player being controlled by the game’s artificial intelligence. Your objective in this mode is to reach the highest levels of the ranking; the higher your position in the ranking, the greater your weekly rewards will be.
Smart tip:
You can speed up the game or automate some of your strikes using the icons in the top right corner of the battle screen. This can help add some momentum to your early game when you have few attack options and little variation, but as you progress in the game, you’ll prefer to choose each strike individually.
In your Inventory, you’ll be able to see all the items you’ve accumulated during the game. But let’s focus on the most important element in this guide: Weapons. You’ll initially receive some replica weapons (They cannot be upgraded and have a limited use) that will be essential for your early game. To use them, go to the Consumables section and find the items you received. Select an item to randomly generate the weapons and equipment that you can use.
Using the weapons
To use a weapon, choose one of your Devikins on the Team Management screen and click on the Sword icon. You’ll see all the available weapon options; choose one and click Select. There you go, you’ve equipped a weapon for your Devikin. Don’t forget to include a Strike Skill to be able to strike your opponent.


